
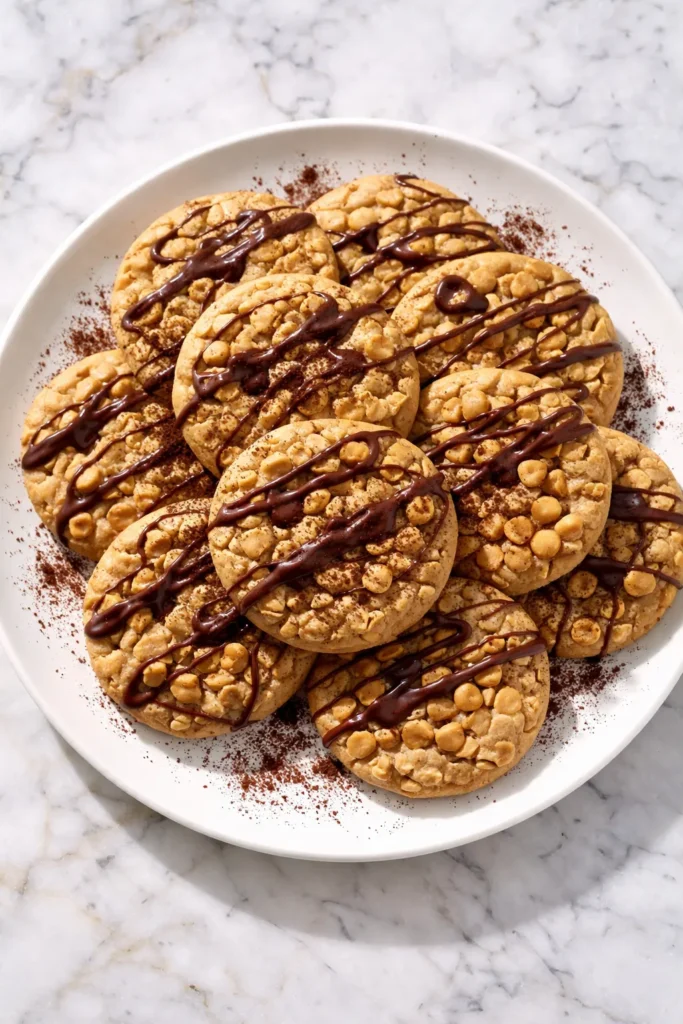
When I first set out to create a no-chill chocolate peanut butter chip cookie, I wanted something that delivered on both chocolate intensity and peanut butter presence. The kitchen smelled like a candy shop during testing—rich cocoa competing with sweet, nutty chips. I quickly learned that the type of cocoa powder is non-negotiable. Natural cocoa’s acidity reacts with the baking soda to give the cookies lift without making them airy. The result is a denser crumb that stays tender. I also found that a slightly higher ratio of brown sugar to granulated sugar creates the chewy, fudgy texture I was after. After about six batches, this version was the clear winner: crackly tops, soft centers, and peanut butter chips in every bite.
Why Natural Cocoa Powder Matters More Than You Think
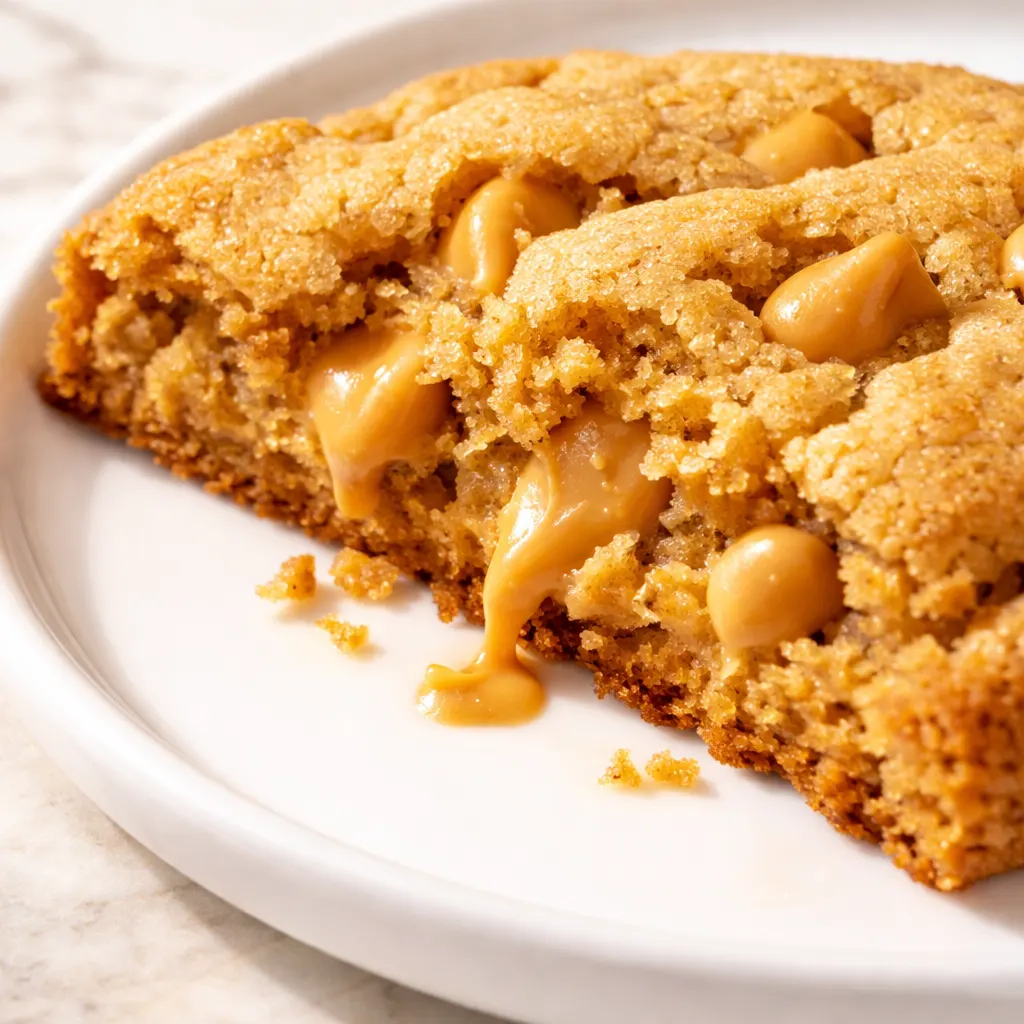
Most chocolate chip cookie recipes lean on butter solids for structure. Here, the cocoa powder contributes significant dry mass. Natural cocoa is acidic, which react with the baking soda to give the cookies lift without making them airy. The result is a denser crumb that stays tender. Cocoa powder is also a good source of antioxidants, which is a nice bonus on top of the flavor. The higher butterfat content in European butter also helps slow gluten formation, keeping the cookies soft.
Baking at 350°F rather than a higher temperature allows the centers to set before the edges burn. If you bake them at 375°F, the edges will harden before the middle is done, which is how you get a raw center. The even heat of 350°F gives you a consistent texture throughout.
The Ingredients That Do the Work
2 cups all-purpose flour: Provides the backbone structure. Sifting is important here because cocoa tends to clump.
2/3 cup unsweetened natural cocoa powder (such as Hershey’s): The sharp, distinct chocolate flavor. Don’t substitute Dutch-process here or you’ll lose the lift. Natural cocoa has a pH of about 5, which activates the baking soda.
1 teaspoon baking soda: The leavener. Reacts with the cocoa’s acidity to create a tender crumb.
1/2 teaspoon kosher salt: Balances bitterness and sweetness. Diamond Crystal is what I use.
1 cup unsalted European butter, softened: Higher butterfat content means less water, which gives you a richer dough. Cold butter won’t aerate properly when creaming.
3/4 cup light brown sugar, lightly packed: The acidity and moisture in brown sugar create a chewier texture.
3/4 cup granulated sugar: Contributes to the crinkly top structure and adds necessary dryness to the dough.
2 teaspoons vanilla extract: Rounds out the chocolate flavor. A good quality extract makes a difference.
2 large eggs: Structure and moisture. Cold eggs can seize the butter, causing the dough to curdle. Use room-temperature eggs.
2 cups peanut butter chips: The main event. They don’t melt completely, giving you solid pockets of peanut butter flavor that cut through the cocoa.
Additional peanut butter chips for decorating (as needed): Makes the cookies look intentional. Press them in while warm.
What You’ll Need (It’s Minimal)
Stand mixer fitted with the paddle attachment (or a hand mixer)
Sifter
Mixing bowls
Baking sheets
Parchment paper
Thin spatula
Wire racks for cooling
Airtight container for storage
Making the Cookies, Start to Finish
This dough comes together quickly, so preheat the oven first.
Prep: Preheat oven to 350°F.
Sift together the flour, cocoa powder, baking soda, and salt into a medium bowl. Set aside. Sifting removes lumps from the cocoa.
Cream the butter, brown sugar, and granulated sugar in the stand mixer on medium speed until light and fluffy, about 3 to 4 minutes. You want the mixture to look pale and aerated—this is where the structure begins. The scent of butter and sugar will fill your kitchen. Scrape the bowl.
Beat in vanilla and eggs, one at a time. Scrape the bowl after each addition. The mixture might look slightly curdled; that’s fine. The dough will come together.
Add the flour mixture gradually on low speed, mixing until just combined. Scrape the bowl once more. The dough will be thick and fudgy, with a deep chocolate aroma.
Mix in the peanut butter chips by hand with a spatula or wooden spoon. Doing it by hand prevents overworking the dough, which keeps the cookies tender. You’ll see the chips scattered like golden nuggets against the dark dough.
Scoop the dough into 24 portions (about 1.5 tablespoons each, roughly 22g per scoop) onto parchment-lined baking sheets, spaced 2-inches apart. No need to roll them smooth.
Bake for 8 to 12 minutes, until the center is set but still fudgy. The edges should look dry, but the center should look slightly puffy and almost underdone. Don’t overbake—the internal temperature of the perfect cookie is around 195°F.
Cool for 5 to 8 minutes on the baking sheets. This step is critical for structure—transferring too early will break the cookies. Use a thin spatula to move them to wire racks.
Decorate If desired, press a few extra peanut butter chips into the tops of the cookies while they’re warm. Store at room temperature in an airtight container for up to 3 days.
Prepping and Storing for Later
These cookies freeze beautifully, so I usually make a double batch. The dough itself can be stored in the fridge for up to 3 days before baking—sometimes the flavor improves overnight.
Fridge (Dough): Wrap the dough tightly in plastic wrap and store for up to 3 days. Let it sit at room temperature for 10 minutes before scooping and baking.
Freezer (Dough): Scoop the dough onto a sheet tray, freeze solid, then transfer to a freezer bag. Bake from frozen, adding 1-2 minutes to the bake time. No need to thaw.
Freezer (Baked): Freeze baked cookies in a single layer between sheets of parchment. Thaw at room temperature, or pop them in a 300°F oven for 5 minutes to re-crisp the edges.
Reheat: For a just-baked texture, microwave a cookie for 10-15 seconds. For a crispier edge, use the oven at 350°F for 2-3 minutes.
Small Adjustments That Make a Big Difference
Don’t over-cream the eggs. Adding the eggs one at a time and stopping as soon as they’re incorporated prevents the dough from becoming too airy, which leads to cakey cookies. A dense, fudgy texture starts here.
Use a scale for the flour and cocoa. Cocoa powder is especially prone to clumping. Sifting helps, but weighing ensures accuracy. 2 cups of AP flour is 240g, and 2/3 cup of cocoa is about 60g. Even a slight excess can make the dough stiff.
The center should look structurally unsound when you pull them out. If the edges are set and the center looks puffy and wet, that’s the exact moment to pull them. They will continue to set on the hot baking sheet.
Swap the chips for texture. If you want a sharper contrast, use salted butter and flaky sea salt on top. The salt brings out the cocoa’s fruitier notes.
Adapting the Recipe for What You Have
Gluten-Free: Substitute the all-purpose flour with a 1:1 gluten-free baking flour blend. The texture will be slightly more tender, but the taste is nearly identical. I’ve done it with King Arthur’s Measure for Measure.
Double Peanut: Use 1 cup peanut butter chips and 1/2 cup chopped salted peanuts for a crunchier texture and a more intense peanut profile.
Dark Chocolate Lovers: Add 1/2 cup dark chocolate chunks (60-70%) alongside the peanut butter chips for a deeper cocoa profile that contrasts with the sweet chips.
Spiced: Add 1 teaspoon of cinnamon and 1/4 teaspoon of cayenne pepper to the dry ingredients for a mole-inspired kick. It pairs surprisingly well with the peanut butter.
Troubleshooting
Q: Why did my cookies spread into flat, thin discs?
A: The butter was likely too soft. If the butter looks greasy or shiny before mixing, the dough will spread excessively. Room temperature should be around 65°F—cool, but pliable. If your kitchen is warm, chill the scooped dough for 15 minutes before baking.
Q: Can I use Dutch-process cocoa powder?
A: You can, but the cookies will be less dramatic in flavor and might not spread as well. Natural cocoa is acidic and reacts with the baking soda. If you swap to Dutch-process, add 1/4 teaspoon more baking soda or a dash of vinegar to the dough to compensate for the lack of acidity.
Q: How do I know when they’re done without overbaking?
A: An instant-read thermometer works best. Pull the cookies at 195°F to 200°F internal temperature. Visually, the edges will be set, but the center will look puffy and slightly raw. Let them cool on the sheet for a full 8 minutes.
Q: My cookies are cakey, not fudgy. What happened?
A: You likely creamed the butter and sugar for too long or overmixed the flour. Cream for exactly 3-4 minutes on medium speed. Stop the mixer when the flour disappears. Overmixing develops gluten, which makes cookies tough and airy instead of tender and dense.
Storage Questions
Q: How long do these cookies last?
A: They stay perfectly fudgy in an airtight container at room temperature for up to 3 days. After day three, they’ll start to dry out, so I recommend freezing any you won’t eat by then.
Q: Can I freeze the baked cookies?
A: Yes, for up to 3 months. Wrap them individually in plastic wrap and place them in a freezer bag. Thaw at room temperature for about 15 minutes.
Q: What’s the best way to reheat a cookie to make it taste fresh?
A: For a just-baked fudgy texture, microwave for 10-15 seconds. For a crispier edge, pop it in a 350°F oven for 2-3 minutes. The residual heat will soften the chips slightly.
Q: What do you serve with these cookies?
A: A cold glass of milk is the classic choice. For a grown-up version, pair it with a dark stout or a rye whiskey. The bitterness of the beer or spirit cuts through the sweetness and highlights the cocoa.
If you’ve spent any time on chocolate chip cookies that taste flat, this version is the fix. The cocoa powder does the heavy lifting, and the peanut butter chips provide the contrast. I’d love to hear how they turn out in your kitchen.
📌 Fudgy chocolate peanut butter chip cookies with no chill time — save this recipe for your next weeknight bake.
Related posts:
 The Caramel Ribbon Crunch Frappuccino: The 5-Minute Blender Version That Actually Stays Thick
 The Homemade Caramel Ribbon Crunch That Doesn’t Separate or Dilute — Finally
 Baked Protein Pancake Bowls That Taste Like Dessert for Breakfast — Ready in 30 Minutes
 Chocolate Peanut Butter Chip Cookies That Stay Fudgy for 3 Days